

No products
Prices are tax included
-
SOLUTIONS
-
-
BUY
-
-
THIN INSULATION
-
R'BULL pro 13 | Thin Reflective Insulation...
14 Review(s)337,58 € 450,10 € -25%Delivered to your home* price: ◉ Europe...
À prix réduit!Delivered to your door free of charge -
R'BULL pro 13 | Thin Reflective Insulation...
1 Review(s)333,09 € 444,12 € -25%Rate delivered to your home* : ◉ Europe...
À prix réduit!Delivered to your door free of charge -
R'BULL pro 5 | Thin Reflective Insulation...
3 Review(s)421,05 € 561,40 € -25%Rate delivered to your home* : ◉ Standard...
À prix réduit!Delivered to your door free of charge -
R'BULL pro 5s | 5mm floating parquet...
3 Review(s)296,24 € 370,30 € -20%Rate delivered to your home* : ◉ Standard...
À prix réduit!Delivered to your door free of charge -
Aluminium adhesive tape 75 mm x 50 m....
2 Review(s)26,00 €Rate delivered to your home* : ◉ Europe stock...
In stock -
R'Acoustic 20 | Thin Acoustic Thermal...
5 Review(s)234,43 € 275,80 € -15%Rate delivered to your home* : ◉ Standard...
À prix réduit!Delivered to your door free of charge -
R'Acoustic 10 | Thin Acoustic Thermal...
3 Review(s)200,52 € 235,90 € -15%Rate delivered to your home* : ◉ Standard...
À prix réduit!Delivered to your door free of charge -
R'Acoustic Alu | Insolant Mince Réflecteur...
2 Review(s)251,77 € 296,20 € -15%Rate delivered to your home* : ◉ Europe...
À prix réduit!Delivered to your door free of charge -
R'BULL pro 5 | Thin Reflective Insulation...
1 Review(s)202,50 € 270,00 € -25%Rate delivered to your home* : ◉ Standard...
À prix réduit!Delivered to your door free of charge -
R'Flam Pro 6 | Thin Reflective Insulation...
2 Review(s)497,03 € 662,70 € -25%Home delivery price* : 1 Roll : 19.88 €/m²...
À prix réduit!Delivered to your door free of charge -
R'Flam Tape - Non-combustible aluminum...
23,46 €Flame-retardant aluminium adhesive roll for thin...
In stock
-
-
-
-
Heating panels
-
Fire-retardant heating film for radiant...
4 Review(s)70,20 €Rate delivered to your home* : ◉ Europe...
En Stock -
Fire-retardant heating film for radiant...
51,48 €Rate delivered to your home* : ◉ Europe...
En Stock -
eFilm Power - Width 60 cm
1 Review(s)59,84 €Heating film for specific applications 25-year...
In stock -
-
-
Cassette radiant great heights :...
498,30 €The radiant heating CRIR 1800 is intended for the heating...
En Stock
-
-
Thermostats
-
Connected programmable thermostat for...
9 Review(s)113,04 €Rate delivered to your home* : ◉ Stock France...
STOCK FRANCE: In stock for delivery within 24/48 hours with tracking. -
Connected programmable thermostat for...
2 Review(s)120,24 €Rate delivered to your home* : ◉ Stock France...
STOCK FRANCE: In stock for delivery within 24/48 hours with tracking. -
Radio-connected, programmable 4G wifi...
149,76 €Connected radio thermostat . Programmable device...
STOCK FRANCE: In stock for delivery within 24/48 hours with tracking. -
Floor probe for radiant floor heating...
20,00 €Rate delivered to your home* : ◉ Express...
In stock for delivery within 24/48 hours (France stock)
-
-
-
-
Heated mirrors / Connected furniture
-
Mirolia Pro series. Self-adhesive heating...
3 Review(s)110,88 €No more fogging up your mirror! Mirolia eliminates...
STOCK FRANCE: In stock for delivery within 24/48 hours with tracking. -
Custom-made heated mirror
2 Review(s)59,40 € 66,00 € -10%We create the heated mirror of your dreams 2 options...
À prix réduit!In stock -
Mirolia Carbon Pro series. Self-adhesive...
100,84 € 112,04 € -10%Turn your mirror into a heated mirror. Freedom...
À prix réduit!In stock -
MIROLIA PANEL DECO
1 Review(s)1 020,00 € 1 360,00 € -25%Mirolia Panel Deco is a decorative heated mirror with...
À prix réduit!En Stock -
-
Hot Table, musical back-lit
6 312,24 €Table immersive to animate your evenings with your...
In stock -
-
-
Switch
-
Magic Switch, the switch is invisible...
1 Review(s)115,68 €Advantages : Removes the risk of...
Available
-
-
-
-
Payment in 4 instalments, interest free

-
Connectors
-
Lever terminals 2 conductors in line -...
1 Review(s)21,90 €Price delivered to your door* : Set of 50...
In stock for delivery within 3 days (France stock) -
Flexible cable with grounding connector...
10,77 € 11,34 € -5%Earth connection of our aluminum insulators for the...
À prix réduit!In stock for delivery within 3 days (France stock)
-
-
Fasteners
-
Clips + screws for fastening ceilingo...
57,90 €*Metropolitan France and Belgium only.
In stock for delivery within 3 days (France stock) -
Set of 100 5 x 50 mm flat-head screws +...
50,00 €Ideal for creating an air gap and limiting contact points...
In stock for delivery within 3 days (France stock)
-
-
Services
-
Complimentary telephone technical support,...
60,00 €The purchase of our products we undertake, which is why...
Service included
-
-
-
-
Understand
-
-
CONTACT
-






Installing a radiant stretch ceiling, part two
Published:
12/01/2015 16:09:36
Categories:
Customer projects
, Radiant heating and cooling ceilings
, Thin reflective insulation
The insulation and the air gap
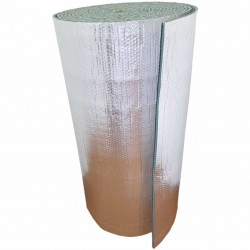
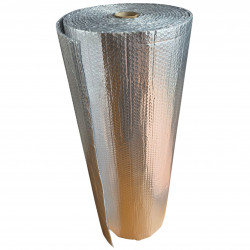
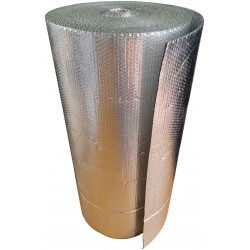
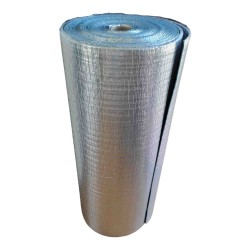
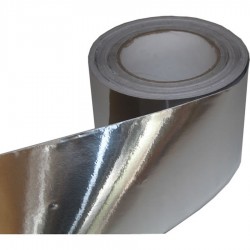
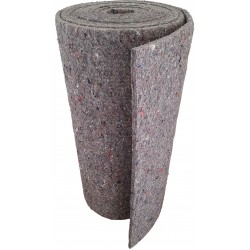
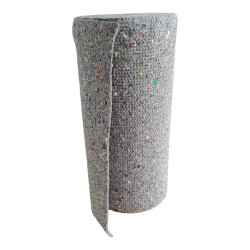
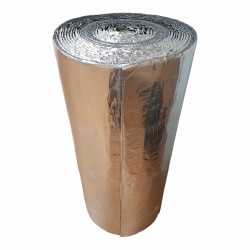
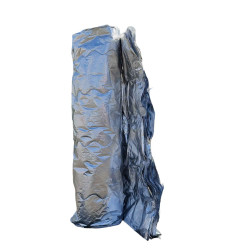
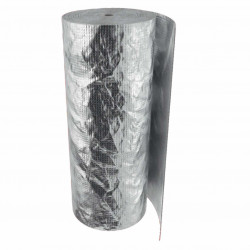
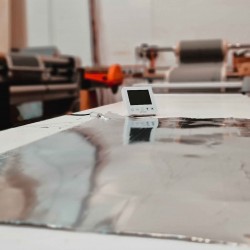
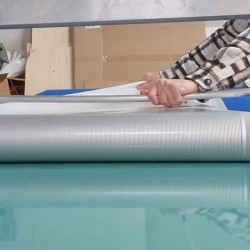
The reflective insulation goes in first, with its return at the edges to close the plenum. Then comes the air gap, held by spacers at a constant distance. That regularity is not a cosmetic detail: it is what guarantees the radiation goes downwards and not into the original substrate.
Fitting the heating films
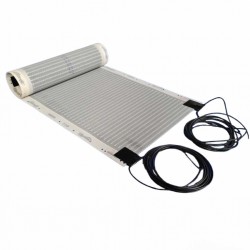
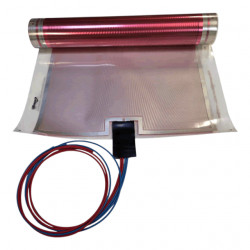
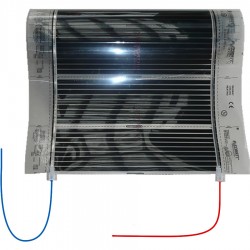
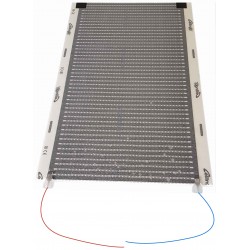
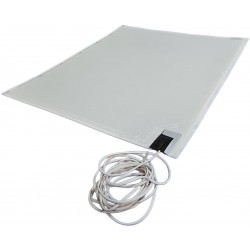
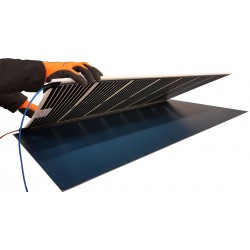
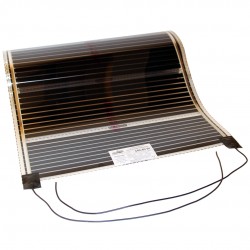
The films are prepared to our dimensions in the workshop, which avoids any cutting on site. They fix beneath the furring channels, following the layout drawing. Every element carries its reference, and that reference matches the drawing the installer has in hand.
Wiring
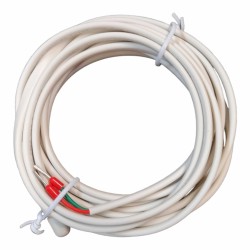
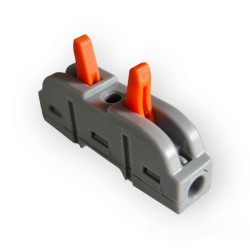
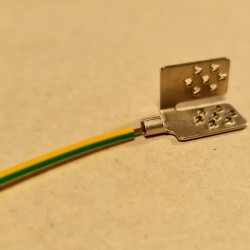
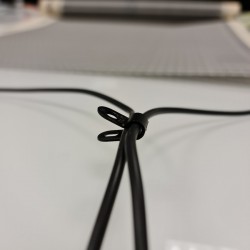
Connections are made in tinned copper, with crimped joints under heat shrink or lever terminals. Cables are held with nylon clips, never passing through the insulation: a penetration at this stage undoes the airtightness work of the previous phase.
Checks before closing up
Continuity of each circuit, absence of insulation fault, full warm-up and a thermal camera check. It is the last moment when everything is reachable, and the only one where putting something right costs nothing.
The next phase is described on part three, and the wiring in detail on the page about connections.
Why the films arrive already cut
A carbon heating film can only be cut in zones intended for it. A cut made anywhere else interrupts a circuit and makes the element useless, without that being visible to the eye. That is why cutting is done in the workshop, from the drawing, and never with a knife on a scaffold.
